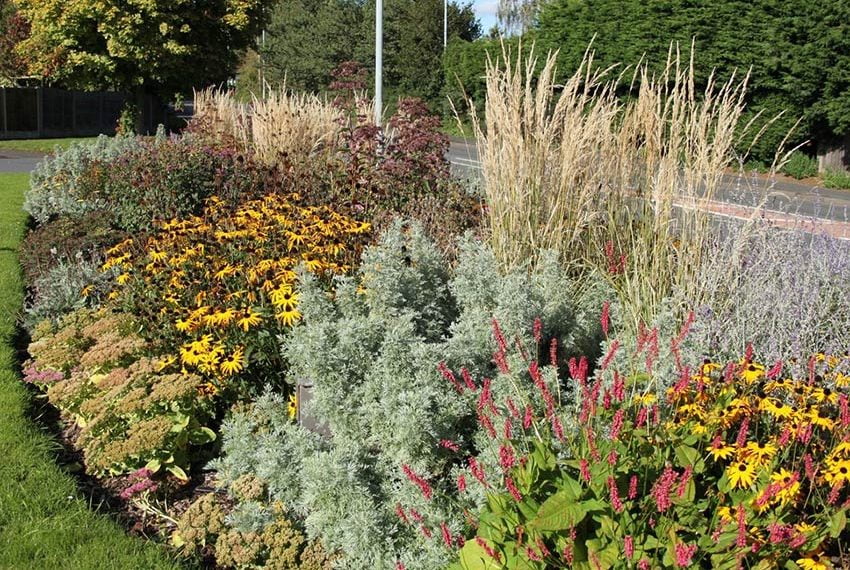
Creating A Flowerbed
A raised flowerbed with landscape timbers is a great garden addition for several reasons. If a bed is raised just a foot or so off the ground, that soil warms up quicker in the spring and can support new plants earlier. In wet climates, the raised bed makes it possible to grow a few things that do not need so much moisture. For a small plot, a few raised beds are a tidy and attractive way to grow plants that are easy to reach, pick, and maintain.
Raise a bed a few feet of the ground and it has different uses. A bed made of landscape timbers looks neat and can compliment the wood used on the house or deck. Also, if your soil is poor, and you just want to “start overâ€, you can fill a raised bed with compost and topsoil for an automatic garden. This soft, new, well-worked soil is ideal for plants that grow a taproot, like carrots, parsnips, and radishes. With good paths around it, a raised bed is also a wheelchair-accessible garden.
Planning And Construction Of Landscape Timbers
Landscape timbers are pieces of wood in eight- or four- foot lengths shaped almost like small logs, but with a flat top and bottom. They are a by-product of plywood manufacturing. Many gardeners choose to build with landscape timbers because they are commonly available, easy to cut, and ideal for stacking.
Also, landscaping timbers are not treated with as many chemicals as pressure-treated wood. So, while the landscaping timber may only last seven or eight years, even in a dry climate, it is the safer option when kids are around or you are growing food to eat.
First, select your spot. A good plot size is eight by four feet; then you do not have to worry about cutting the landscaping timbers. Decide how tall you want the raised bed to be. Each level of the frame will require two long and two short timbers. If you want a bed one foot high, check the height of the landscaping timbers at your store and calculate how many it takes to make a one-foot high wall. But then, add another layer of timbers that will be sunk into the ground.
After buying the landscaping timbers, level your spot well, dig out the grass, and dig a little trench around the perimeter for sinking the first layer of landscaping timbers. Lay out the first layer and secure them in the ground with large landscaping nails. Stack on the next layers, and every two layers, secure them with landscaping nails or screws. The project takes less than a day.

